Editing video with ffmpeg
Now let’s get to know a few filters and make some interesting stuff!
Resizing or scaling
The scale filter is a simple one, yet it is quite powerful!
ffmpeg -y  \
-t 5 -i bbb_sunflower_1080p_60fps_normal.mp4 \
-filter_complex "scale=width=600:height=-1:force_original_aspect_ratio=decrease" \
filter_complex5_scaled1.mp4
The arguments speak for themselves, but a few things:
- Specifying -1 to either width or height means rescaling while keeping the aspect ratio.
- “force_original_aspect_ratio” can be
increase,decrease. Meaning it will increase or decrease the image to fit the specified bounding box while keeping the aspect ratio.
Adding text
We have already covered this a little, so let’s dive deeper!
This is what we used earlier:
ffmpeg -y  \
-t 5 -i bbb_sunflower_1080p_60fps_normal.mp4 \
-filter_complex "drawtext=text='HELLO THERE':y=20:x=30:fontsize=200:fontfile=/usr/share/fonts/truetype/freefont/FreeSerif.ttf" \
filter_complex1.mp4
Now let’s discover how to align the text!
Many filters, including drawtext, support variables in some of its argument’s values. If you scroll down in the documentation of drawtext, you’ll find this:
“The parameters for x and y are expressions containing the following constants and functions: ”
And after this part, you’ll see many variables which you can include in your x and y variables!
Let’s see:
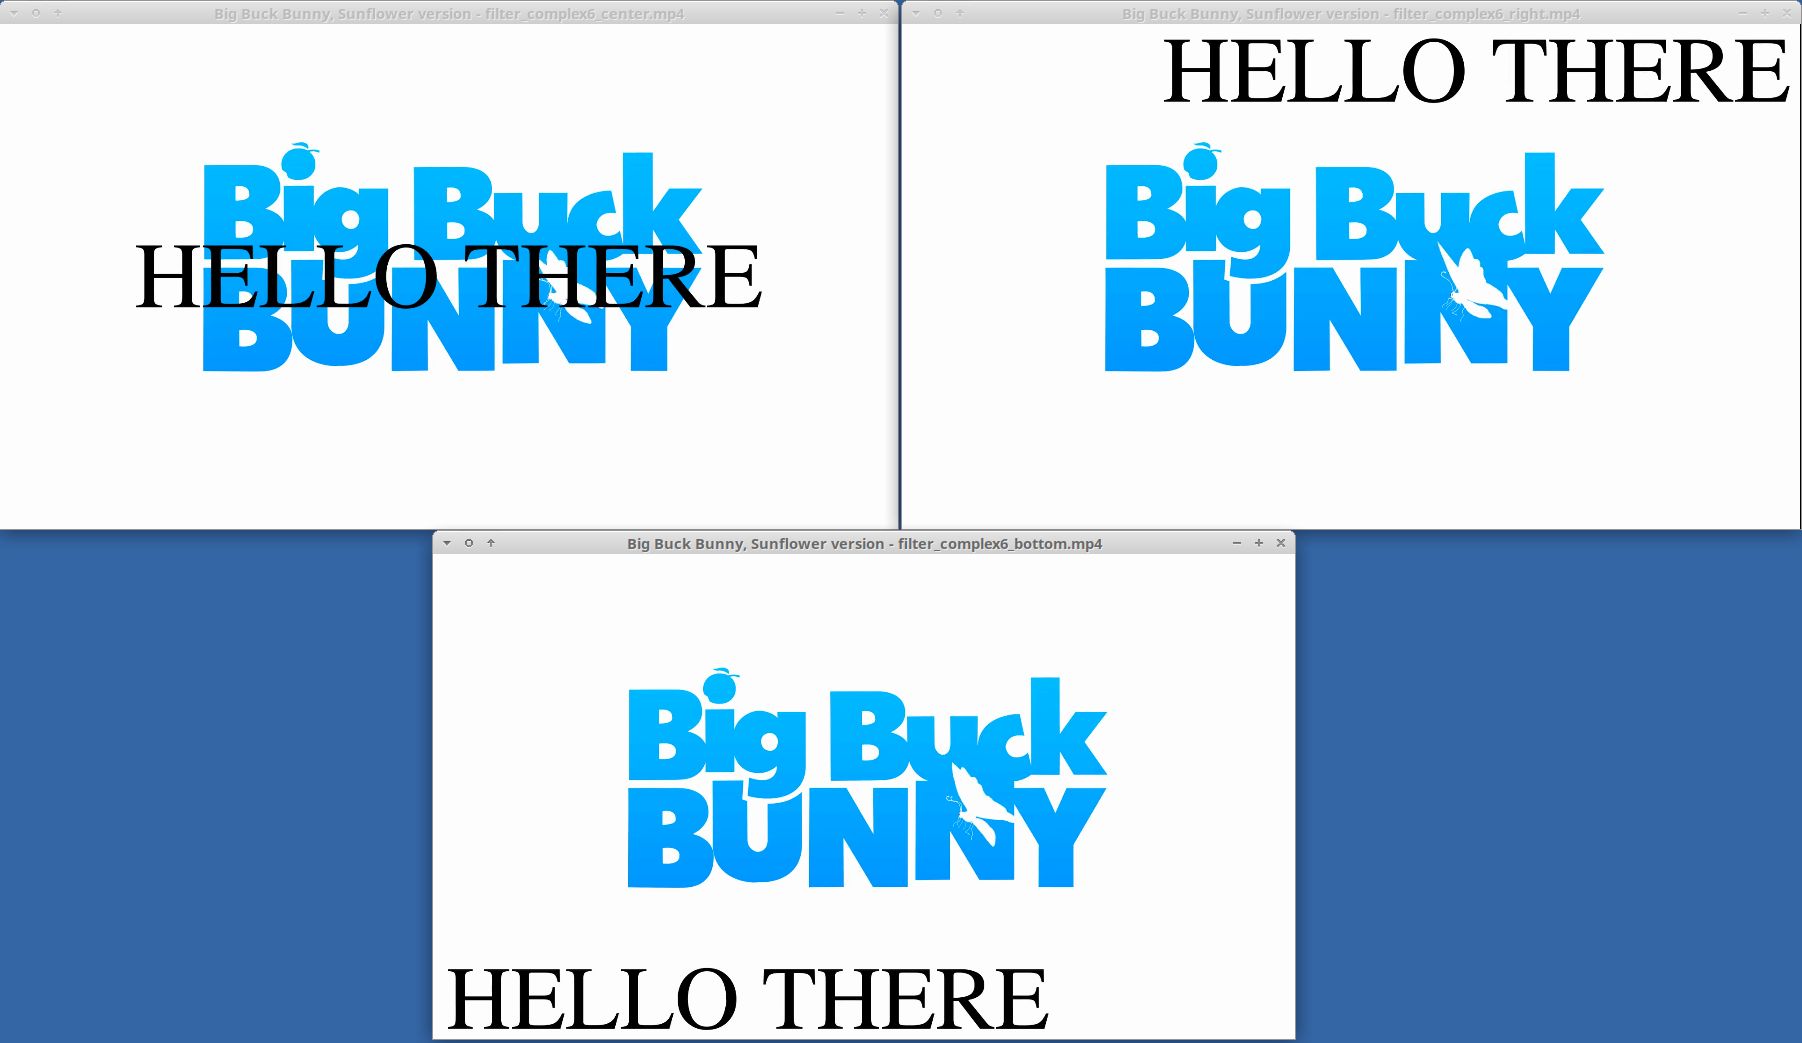
# Align the text to the center
ffmpeg -y  \
-t 5 -i bbb_sunflower_1080p_60fps_normal.mp4 \
-filter_complex "drawtext=text='HELLO THERE':y=h/2-text_h/2:x=w/2-text_w/2:fontsize=200:fontfile=/usr/share/fonts/truetype/freefont/FreeSerif.ttf" \
filter_complex6_center.mp4
# y=h/2-text_h/2 means: y position = (image height / 2) - (text height / 2)

# Align the text to the right:
ffmpeg -y  \
-t 5 -i bbb_sunflower_1080p_60fps_normal.mp4 \
-filter_complex "drawtext=text='HELLO THERE':y=30:x=w-text_w-20:fontsize=200:fontfile=/usr/share/fonts/truetype/freefont/FreeSerif.ttf" \
filter_complex6_right.mp4
# x=w-text_w-20 means: x position = image width - text width - 20pixel padding


# Align the text to the bottom:
ffmpeg -y  \
-t 5 -i bbb_sunflower_1080p_60fps_normal.mp4 \
-filter_complex "drawtext=text='HELLO THERE':y=h-text_h-20:x=30:fontsize=200:fontfile=/usr/share/fonts/truetype/freefont/FreeSerif.ttf" \
filter_complex6_bottom.mp4
# y=h-text_h-20 means: y position = image height - text height - 20pixel padding
And this is what we’ll get in the end:
I need to mention one good trick that might not be obvious at first. So the text_h variable is a tricky one, because different text will be of different height! E.g.: ”____” and “WWW” will result in a different height.
For this reason, you do not always want to use text_h or even just a constant y=value expression but rather, you need to align text by its baseline. So just remember to use the “ascent” variable whenever you need to align text vertically!
Check out these two examples! Each has two drawtext filters printing ”_” and “_H”:
# This one uses y=200 for both, still the text isn't aligned properly!
ffmpeg -y  \
-t 5 -i bbb_sunflower_1080p_60fps_normal.mp4 \
-filter_complex "drawtext=text='_':y=200:x=30:fontsize=200:fontfile=/usr/share/fonts/truetype/freefont/FreeSerif.ttf,drawtext=text='_H':y=200:x=500:fontsize=200:fontfile=/usr/share/fonts/truetype/freefont/FreeSerif.ttf" \
filter_complex7_bad_text.mp4

# This one uses y=200-ascent for both and the text is aligned as expected!
ffmpeg -y  \
-t 5 -i bbb_sunflower_1080p_60fps_normal.mp4 \
-filter_complex "drawtext=text='_':y=200-ascent:x=30:fontsize=200:fontfile=/usr/share/fonts/truetype/freefont/FreeSerif.ttf,drawtext=text='_H':y=200-ascent:x=500:fontsize=200:fontfile=/usr/share/fonts/truetype/freefont/FreeSerif.ttf" \
filter_complex7_good_text.mp4
Now let’s compare the difference:
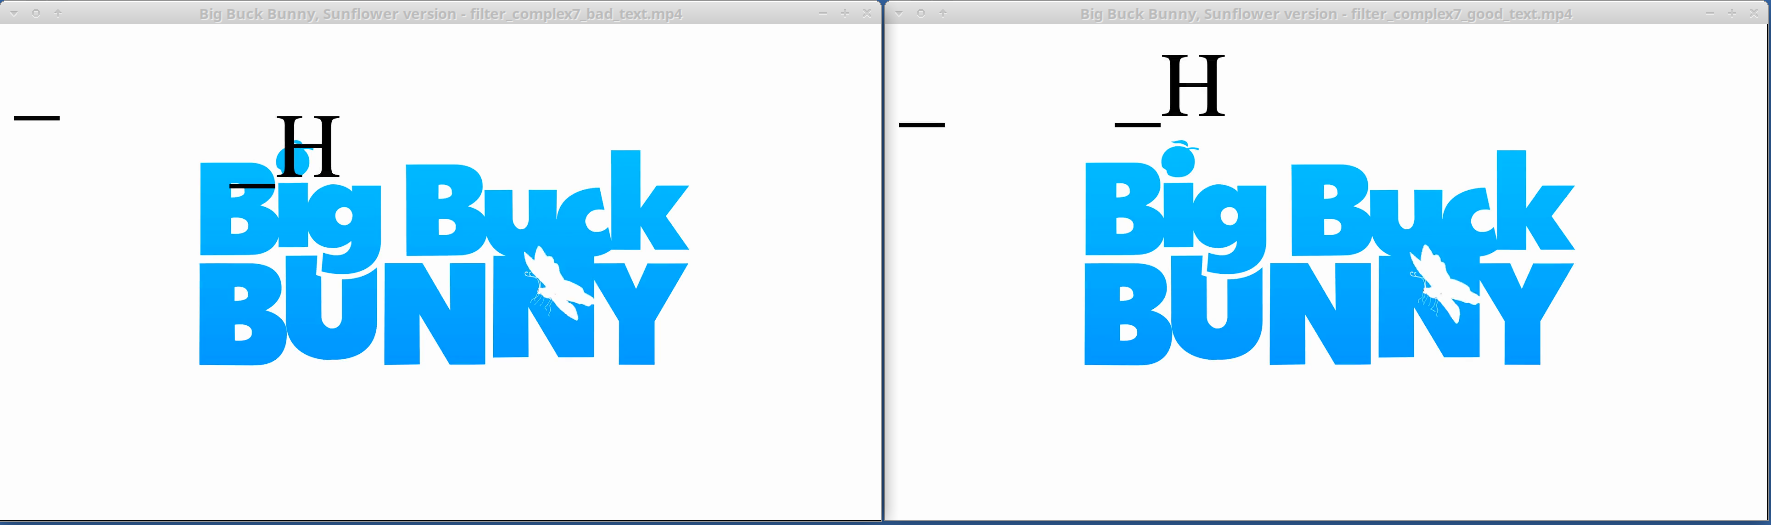
See? This is the difference between aligning the “top left” or the “baseline” of the text!
Adding an overlay
Overlaying is a very interesting thing to do with FFmpeg. Let’s jump right in!
Basic
ffmpeg -y  \
-t 5 -i bbb_sunflower_1080p_60fps_normal.mp4  \
-i smiley.png \
-filter_complex "overlay" \
filter_complex8_overlay1.mp4
Easy as that!
Of course, the overlay filter has a ton of options, but I wanted to demonstrate the easiest possible command line. We don’t even need to mess with input/output pads, as FFmpeg automatically understands the situation: two inputs for the overlay filter and its single output into a single output.
But just to exercise, we could have executed it like this:
ffmpeg -y  \
-t 5 -i bbb_sunflower_1080p_60fps_normal.mp4  \
-i smiley.png \
-filter_complex "[0:v][1:v]overlay[output]" \
-map "[output]" filter_complex8_overlay2.mp4
And this would result in the same output! Check it out, now I have specified the two inputs for the overlay: [0:v][1:v]!
Aligned
Let’s align the smiley into the center!
As we have seen with the drawtext, the overlay filter’s arguments also support a few dynamic variables. We’ll use those to achieve what we want!
ffmpeg -y  \
-t 5 -i bbb_sunflower_1080p_60fps_normal.mp4  \
-i smiley.png \
-filter_complex "overlay=x=main_w/2-overlay_w/2:y=main_h/2-overlay_h/2" \
filter_complex8_overlay3.mp4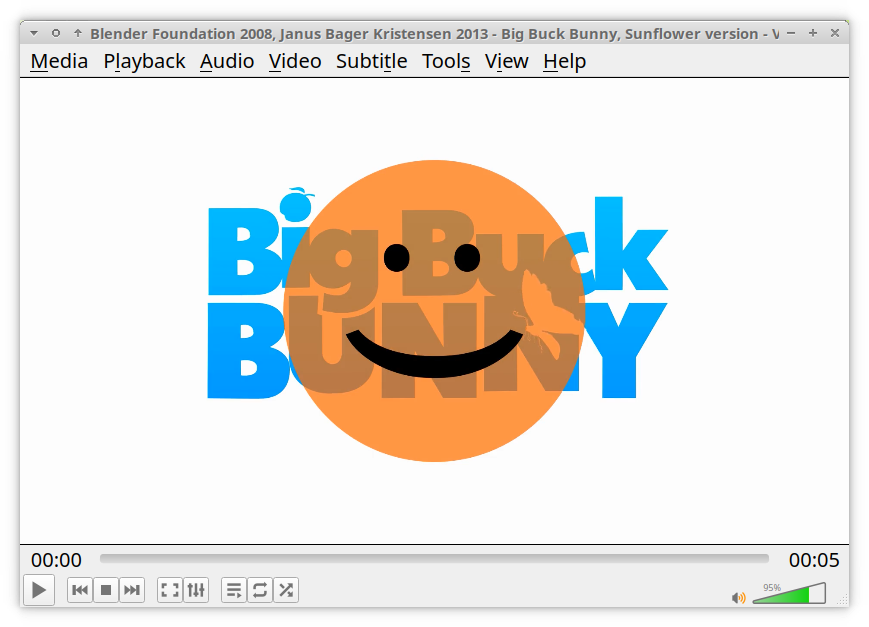
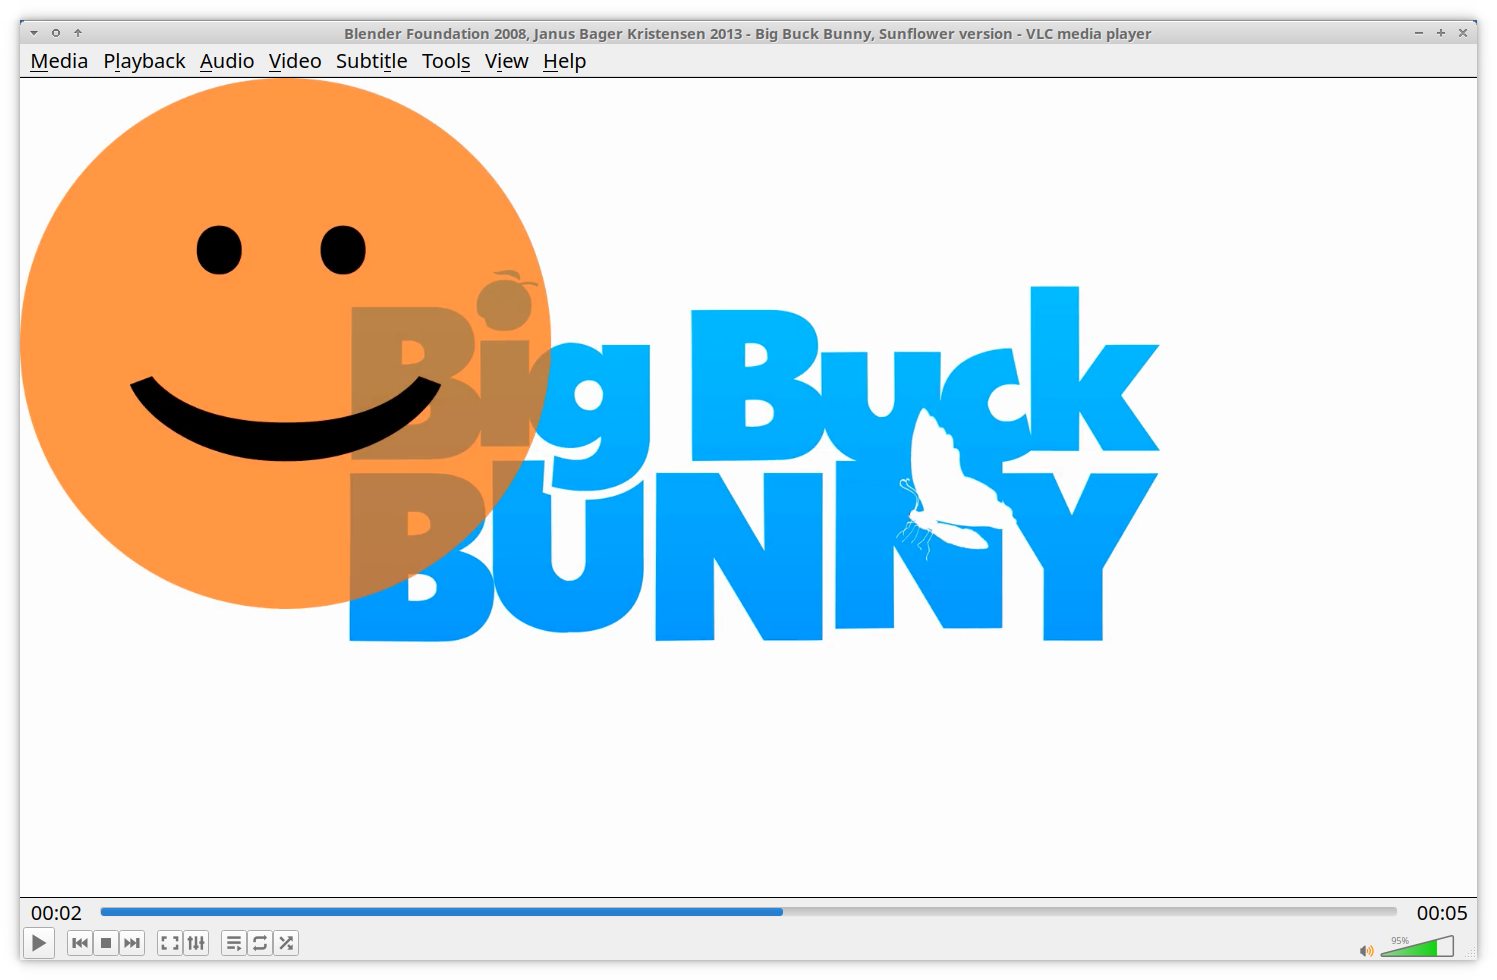
Preprocessing the input for overlay
Let’s get a bit creative!
I want to make it smaller, and I also want to blur it!
Now pause for a minute, and think about it, how you’d do that?!
…
Ready?
ffmpeg -y  \
-t 5 -i bbb_sunflower_1080p_60fps_normal.mp4  \
-i smiley.png \
-filter_complex "[1:v]scale=w=200:h=-1,gblur=sigma=3[smiley] ; [0:v][smiley]overlay=x=100:y=100" \
filter_complex8_overlay4.mp4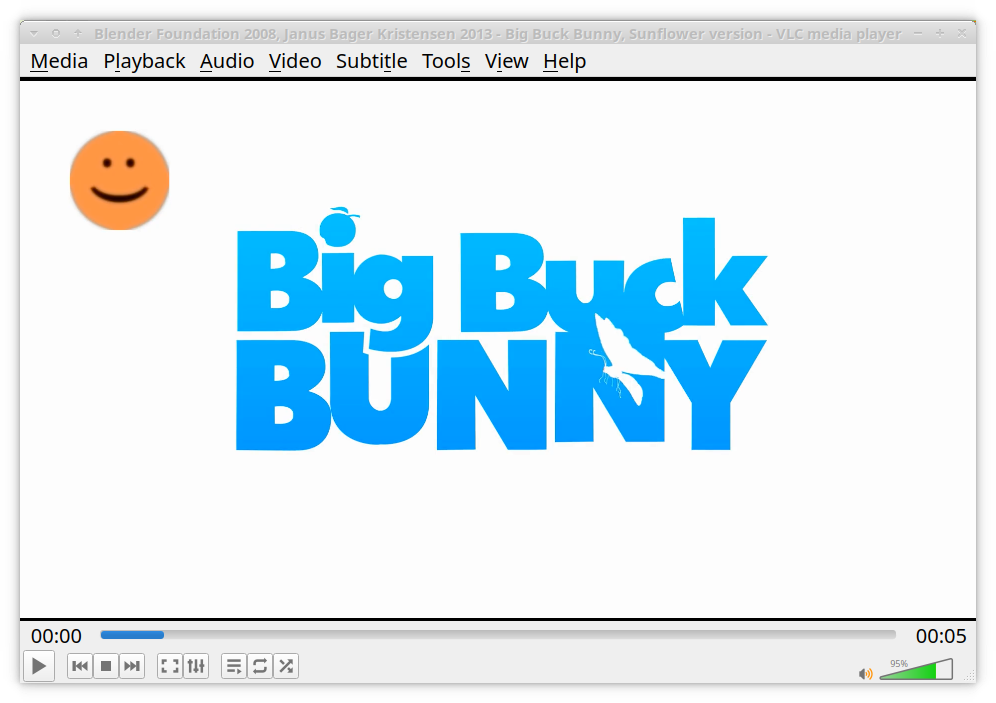
For this we needed to have two filter graphs!
The first one is this: [1:v]scale=w=200:h=-1,gblur=sigma=3[smiley]
- Scales the input image (the smiley).
- Then the scaled output is also blurred.
- Then the output is saved into the output pad named “smiley”.
Then, we have our second filter graph: [0:v][smiley]overlay=x=100:y=100
- This takes as input the first input file (the video).
- This also takes as input the output pad named “smiley”. (We are connecting two chains this time!)
- Then the overlay filter does its overlaying thing, and we trust FFmpeg to pair the unnamed output with the single output file we specified.
Reusing content
Let’s do one more, a really complicated one!
Let’s have the outro overlaid over the intro!
ffmpeg -y \
-t 5 -i bbb_sunflower_1080p_60fps_normal.mp4 \
-t 5 -ss 00:09:40 -i bbb_sunflower_1080p_60fps_normal.mp4  \
-filter_complex " [1:v]scale=w=1920/2:h=-1[outro]; [0:v][outro]overlay" \
filter_complex8_overlay5.mp4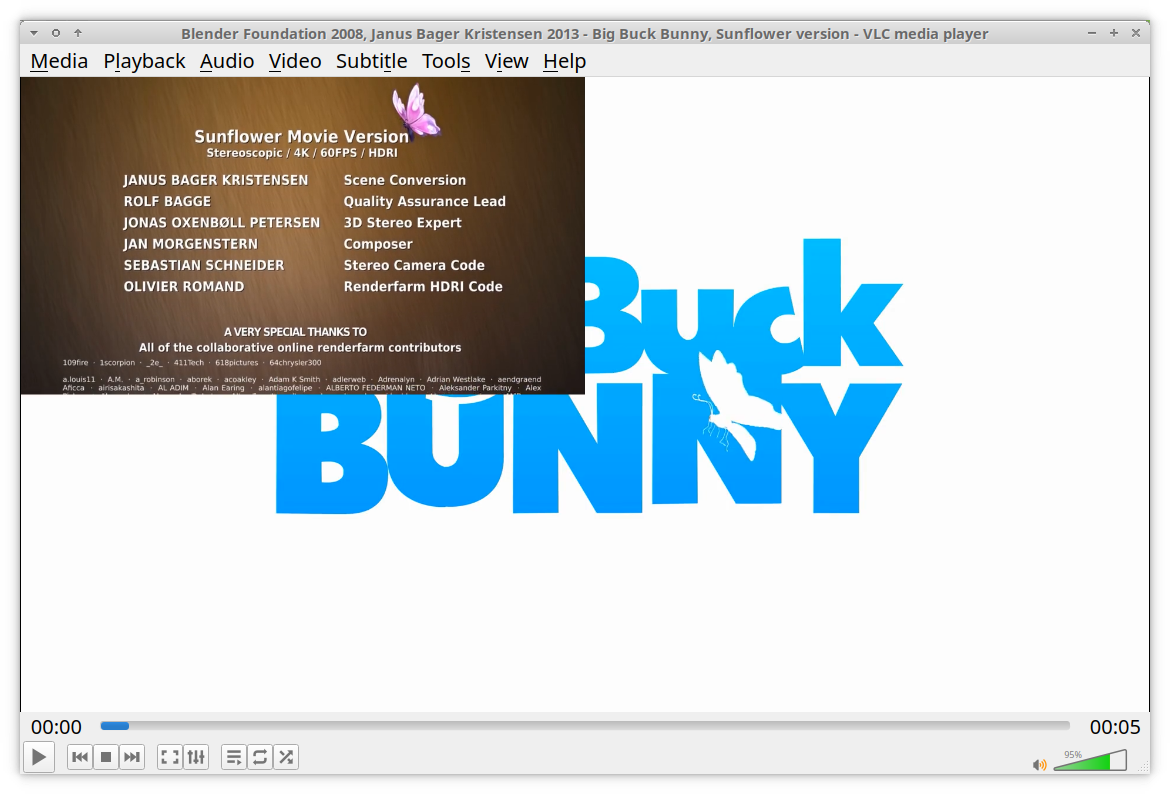
We could have achieved it in several ways, e.g. we could use the trim filter, but to keep it easy, we just open the same file twice and seek/trim them.
- -t 5 -i bbb_sunflower_1080p_60fps_normal.mp4: Open the video, and keep the first five seconds of it.
- -t 5 -ss 00:09:40 -i bbb_sunflower_1080p_60fps_normal.mp4: Open the same video again, but seek to the end and keep five seconds from there.
Then we have two filter graphs again, one scales down the outro, and the second is just an overlay.
Are you excited?:) I hope these made-up examples opened up your eye for the possibilities, and I hope you’ll create very creative stuff with this knowledge!
Chroma keying, green screen, blue screen
In this section, we’ll use chroma keying to remove the background from Big Buck Bunny’s intro, and then we will put the transparent logo over the original video, as if it would be some kind of a logo overlay!
ffmpeg -y \
-ss 0.5 -t 2 -i bbb_sunflower_1080p_60fps_normal.mp4 \
-ss 10 -i bbb_sunflower_1080p_60fps_normal.mp4  \
-filter_complex " [0:v]chromakey=color=0xfdfdfd:similarity=0.1:blend=0.2 , scale=w=-1:h=300 , loop=loop=-1:start=0:size=120[intro] ; [1:v][intro]overlay=x=-40:y=-40" \
-t 10 filter_complex9.mp4
So just to recap, Big Buck Bunny’s first few seconds are like this:
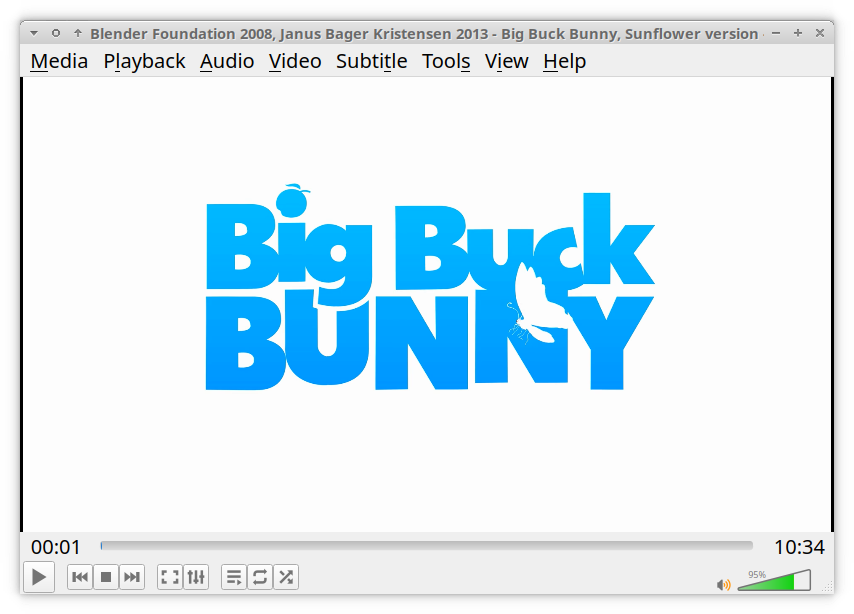
And this is the result:
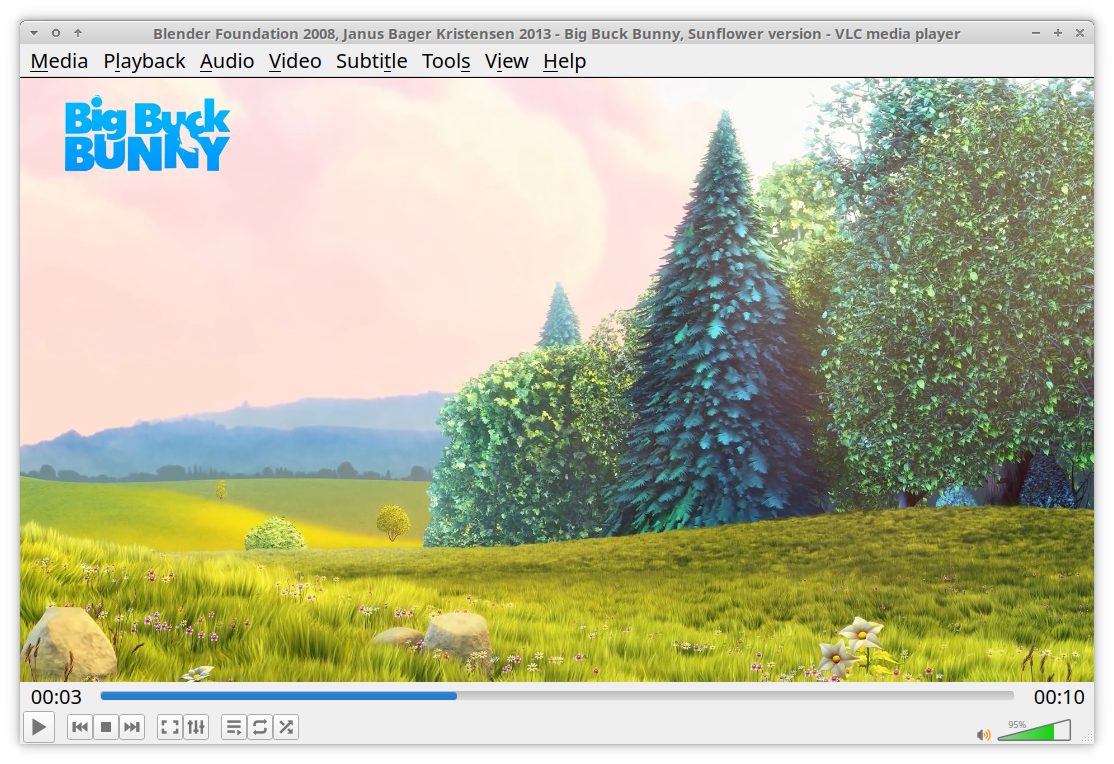
Also, the butterfly moves its wings repeatedly!
Let’s examine the command!
- -ss 0.5 -t 2 -i bbb_sunflower_1080p_60fps_normal.mp4: We read in the intro from 0.5 to 2.5 seconds.
- -ss 10 -i bbb_sunflower_1080p_60fps_normal.mp4: We read in the video, starting from the 10th second.
Then we have two filter graphs, the first being this:
[0:v]chromakey=color=0xfdfdfd:similarity=0.1:blend=0.2 , scale=w=-1:h=300 , loop=loop=-1:start=0:size=120[intro]
As we see, we have three filters in here!
- chromakey: This one takes a color and a few parameters as input, and outputs transparent frames. The specified color + the blended areas will be the transparent sections. In our case we replaced the white-ish (#fdfdfd) background color with transparency.
- scale: We resize the full 1080p image into something around 300px high.
- loop: With the loop filter, we repeat all the 2 seconds worth of 120 frames (60*2) over and over again, to have the butterfly move its wings continuously.
And then, finally we have the second filter graph:
[1:v][intro]overlay=x=-40:y=-40
Nothing fancy, just an overlay of the original video and our chrome keyed intro.
What else?
You might want to check out a few more filters, that I didn’t cover here.
Here are just a few interesting ones: